⚠️ This page connects you to Atovia’s partners and affiliate markets. We may receive a commission from affiliate partners for activities made through these links. Discount offers may change at any time according to policy! Rest assured, there are no additional costs to you! We hope this saves you time in finding the right items!
Somewhere between sneezing without worry and standing up straighter, there is a set of muscles most people never think about until something feels off. Maybe you noticed a small leak when you laughed too hard, or you are recovering from childbirth and wondering what “getting your core back” actually means. This guide walks through exactly how to find, train, and strengthen your pelvic floor muscles, step by step, with a routine you can start today.
What are pelvic floor muscles and why do they matter
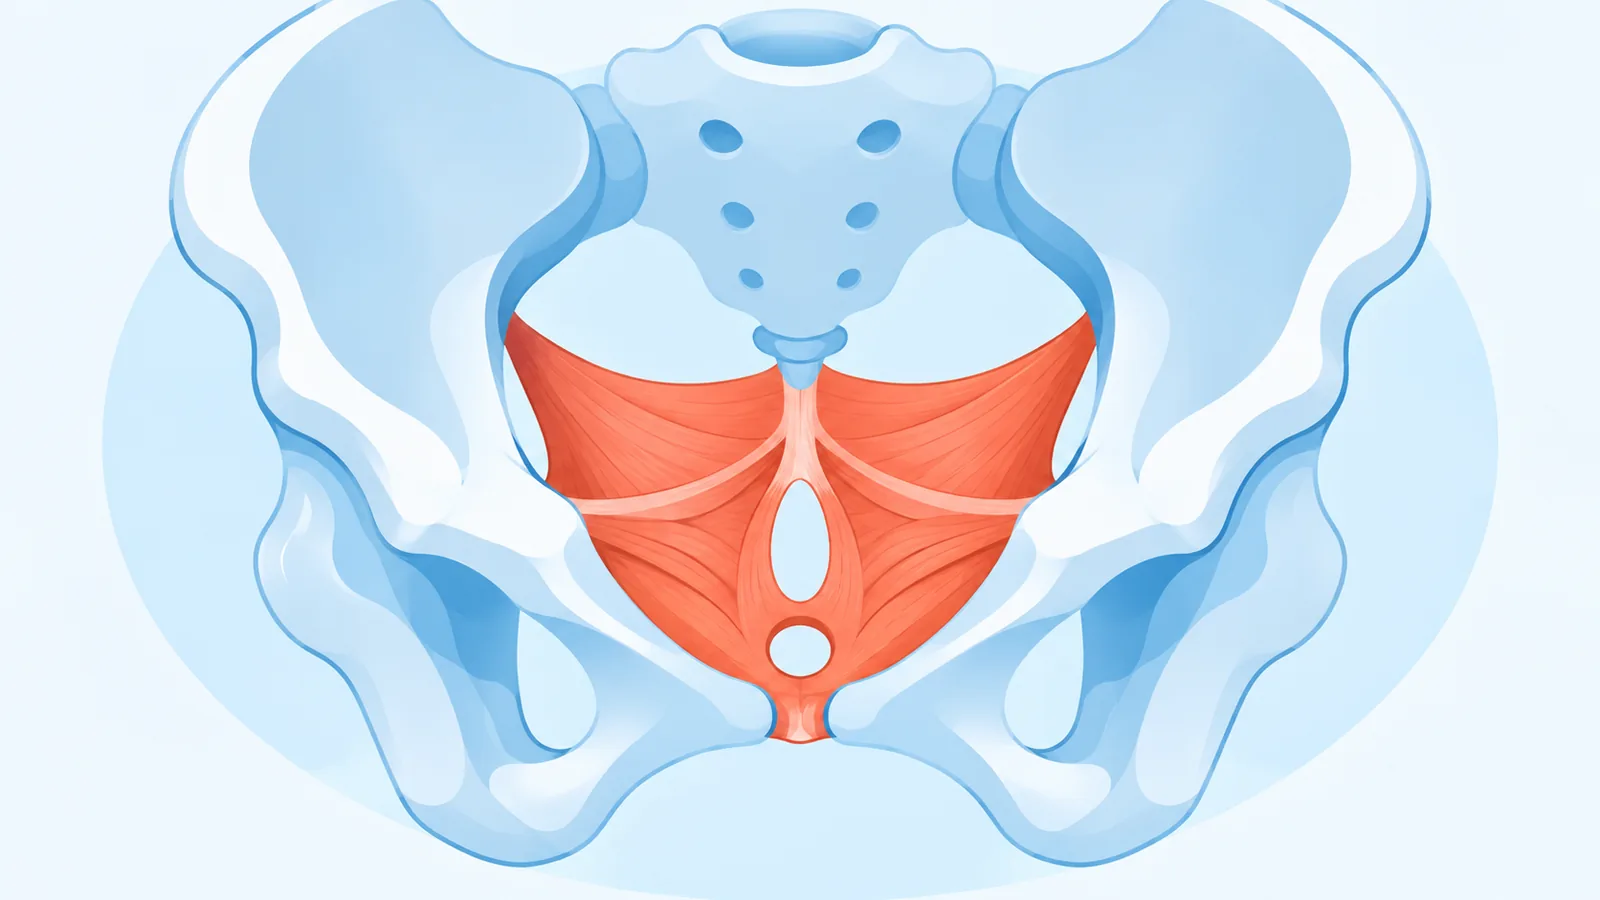
Pelvic floor muscles are a group of muscles that stretch like a sling across the bottom of your pelvis, supporting your bladder, bowel, and (in women) uterus. They sit beneath your abdominal muscles and work as a team with your core, controlling when you release urine or stool and helping stabilize your spine during everyday movement.
When these muscles are weak, common signs include leaking urine when you cough, sneeze, or exercise, a sudden urge to rush to the bathroom, or a heavy, dragging sensation in the pelvic area. Pregnancy, childbirth, aging, chronic constipation, persistent coughing, and carrying extra weight are commonly linked to pelvic floor weakness, since each puts sustained pressure on these muscles over time.
Anyone can benefit from training this area, not just people recovering from childbirth. Runners, weightlifters, and anyone who sits for long stretches each day put repeated strain on the pelvic floor without realizing it.
- The pelvic floor supports your bladder, bowel, and core stability.
- Weak pelvic floor muscles can cause leaking, urgency, or a heavy pelvic feeling.
- Training benefits are known to build gradually over weeks, not days.
- Results differ from person to person depending on starting strength and consistency.
How do you find the right pelvic floor muscles
You find your pelvic floor muscles by trying to stop the flow of urine midstream or by imagining you are holding back gas. That brief, inward-and-upward squeeze you feel is your pelvic floor engaging.
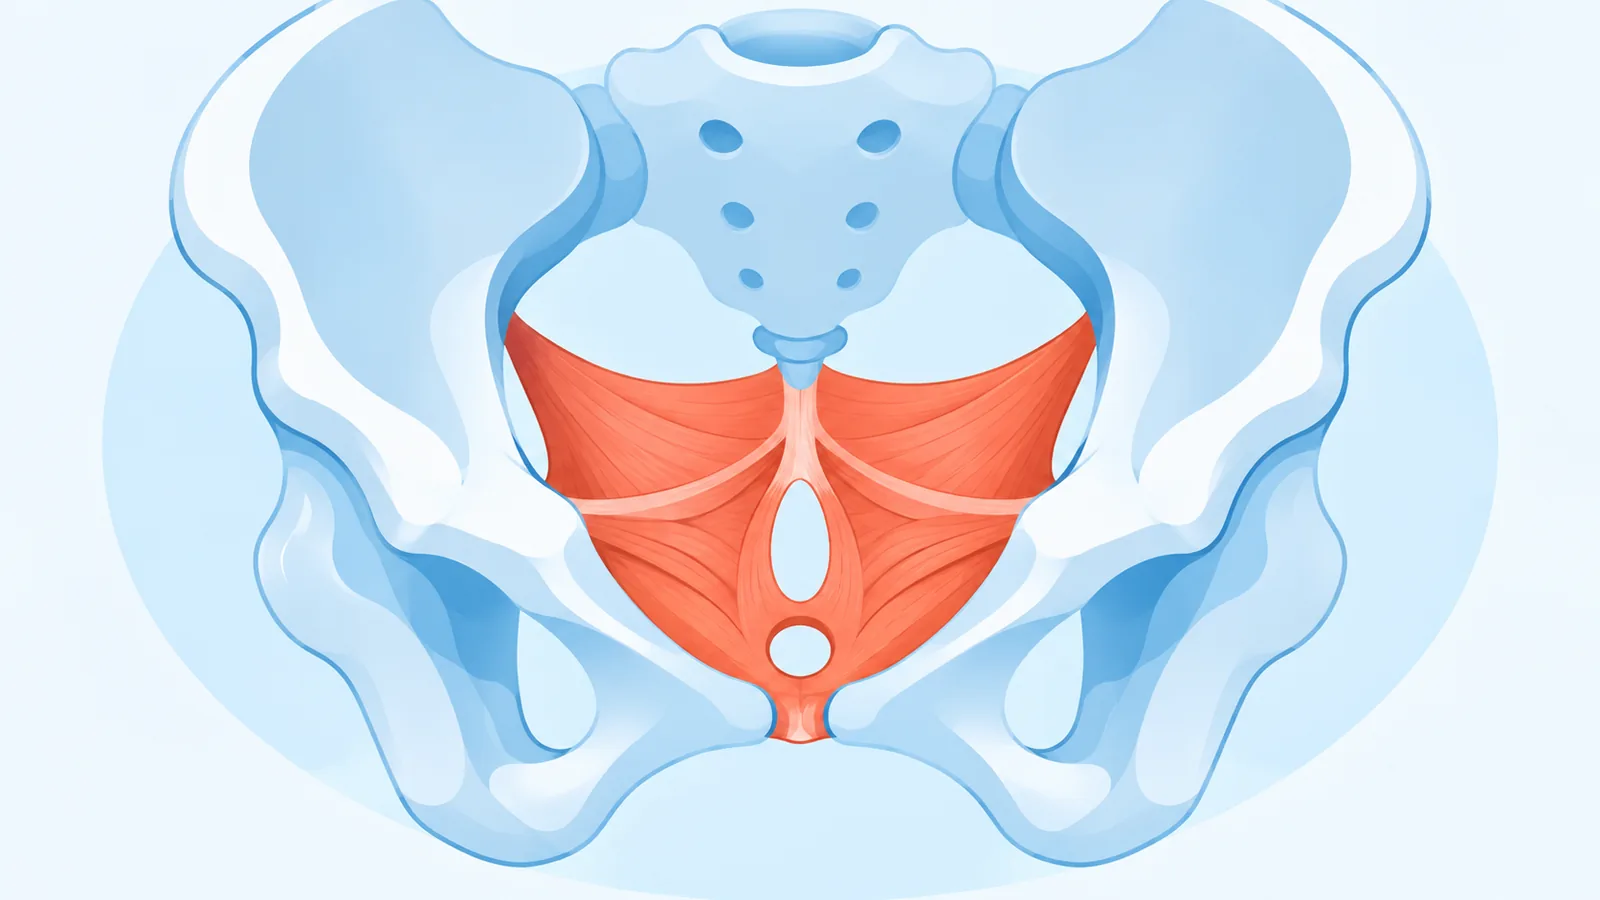
A few practical ways to confirm you have the right muscles:
- Sit comfortably and squeeze as if stopping urine flow, then release and notice the “lift and let go” feeling.
- Place a hand on your lower belly while squeezing; it should stay relaxed, not tighten.
- Check in a mirror or with light touch that your inner thighs, buttocks, and abdomen stay still during the squeeze.
A common mistake is confusing pelvic floor engagement with tightening the glutes, thighs, or abdominal wall instead. If you find yourself holding your breath or clenching your jaw, you are working too hard and recruiting the wrong muscles. Try stopping urine flow only occasionally to check your technique, since doing this regularly during urination can actually interfere with normal bladder emptying.
What is the correct step-by-step Kegel technique
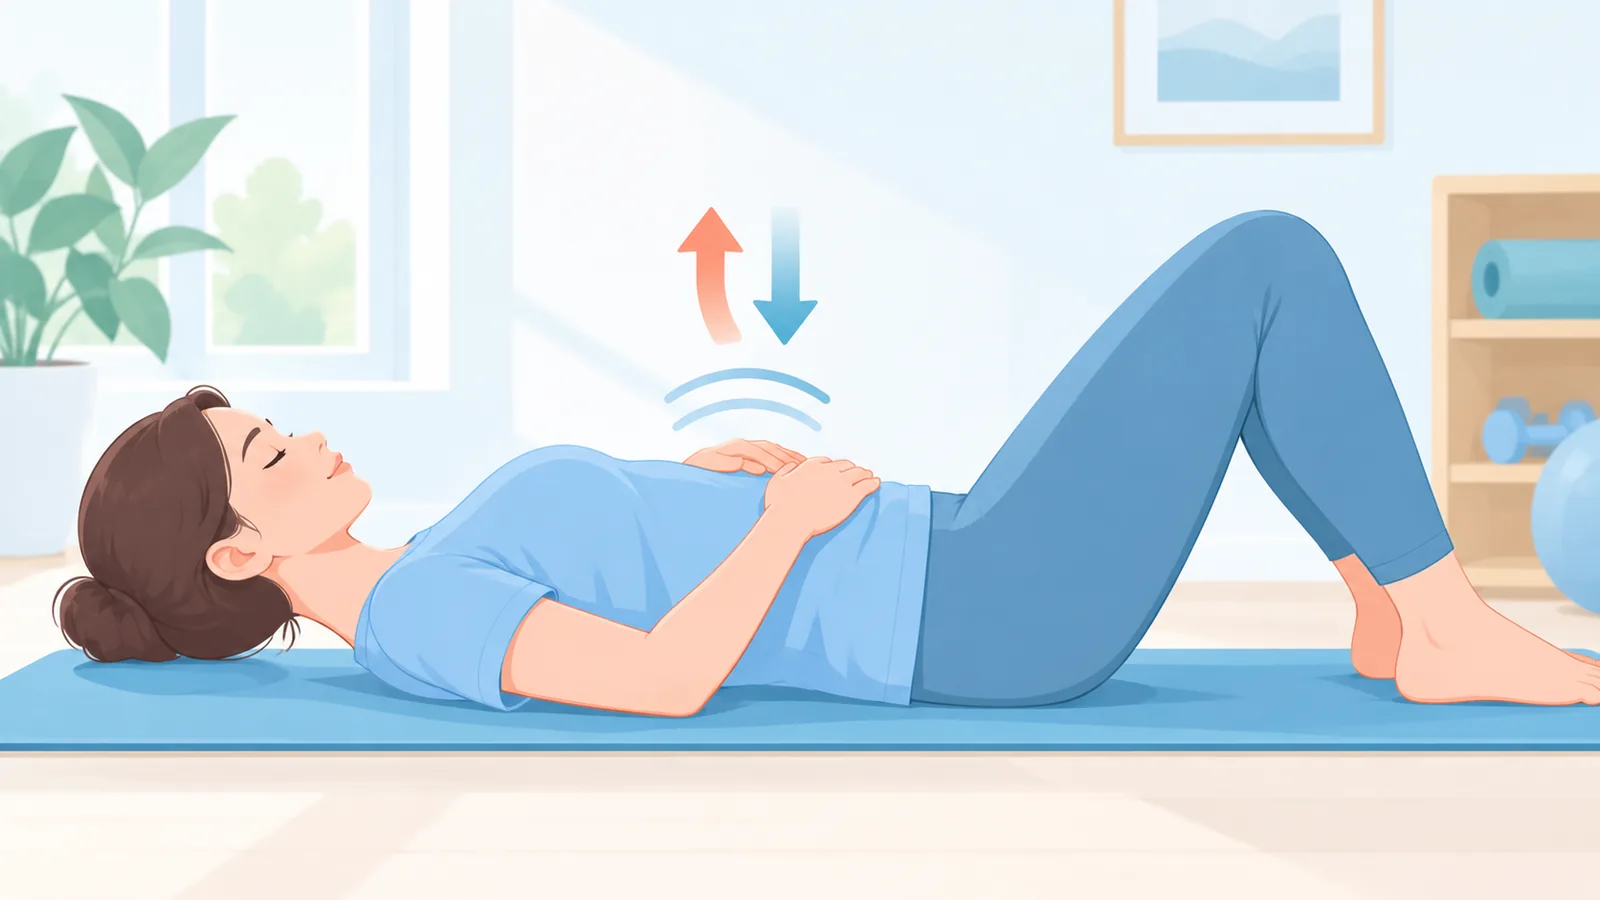
The correct Kegel technique is a slow, controlled squeeze-and-release of the pelvic floor muscles done without tensing your stomach, thighs, or buttocks. Here is the sequence most beginners are taught to follow.

- Sit or lie down in a relaxed position with your body fully supported.
- Breathe normally and squeeze your pelvic floor muscles upward and inward, as if lifting them off a chair.
- Hold the contraction gently for a few seconds, keeping your breath steady rather than holding it.
- Release fully and let the muscles relax completely before the next squeeze.
The “fully relax” step matters as much as the squeeze itself. Many people rush from one contraction to the next without releasing, which trains the muscles to stay tense rather than to contract and recover with control. If you notice tightness or discomfort that lingers after you stop, ease off and give the area a rest.
Breathing is often the piece beginners get wrong. Holding your breath raises pressure in your abdomen and pushes down on the pelvic floor, working against the muscles you are trying to strengthen. Keep your breath slow and even throughout each repetition.
🛒 Recommended Product
How often should beginners do pelvic floor exercises
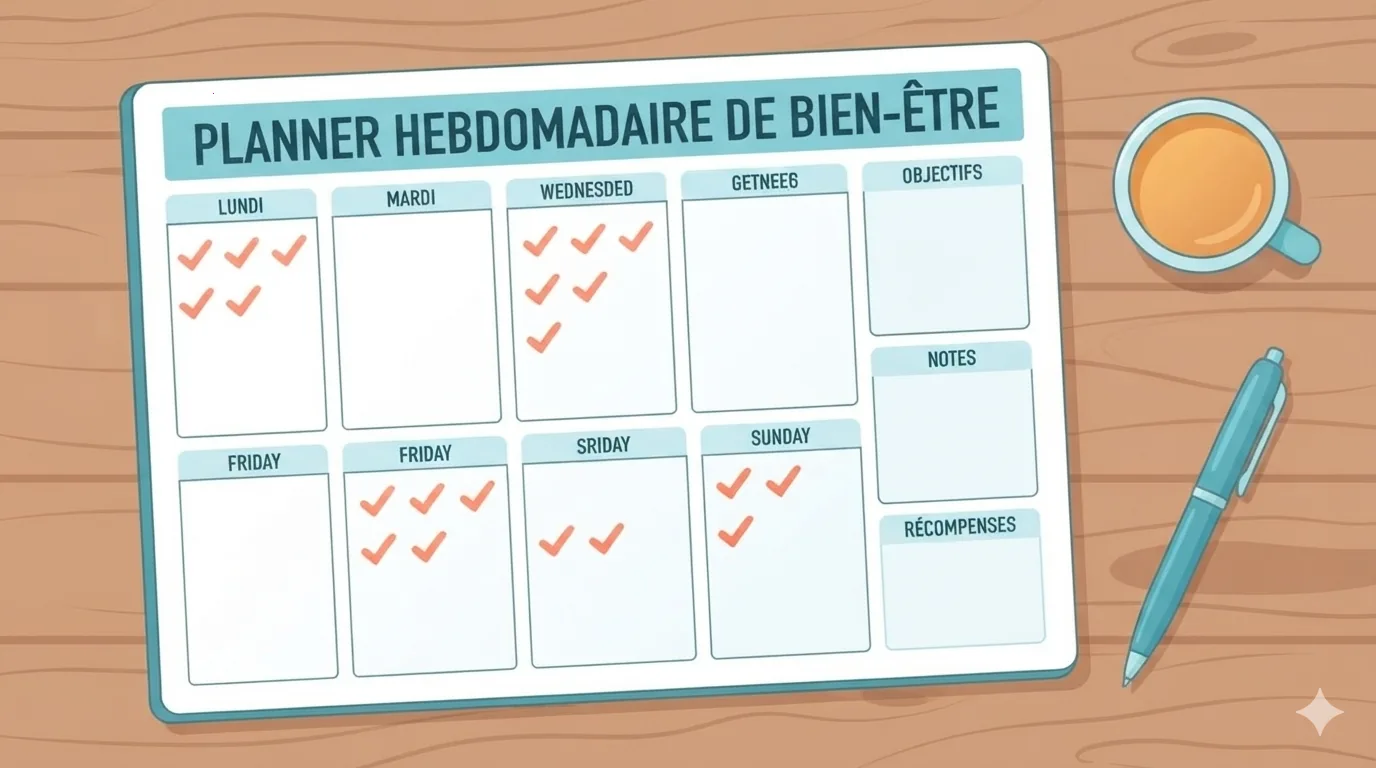
Beginners are commonly guided to start with short, gentle sessions a few times a day and build up gradually as control improves. A simple starting structure looks like this:
- Week 1 to 2: 5 to 10 slow squeezes, held briefly, done twice a day.
- Week 3 to 4: increase to 10 squeezes per session, three times a day, with slightly longer holds as it feels comfortable.
- Week 5 onward: add quick, sharp squeeze-and-release repetitions alongside the slow holds to train both endurance and quick reflexive control.
Progress should feel gradual. Consistency across weeks tends to matter more than doing a large number of repetitions in a single session. The World Health Organization’s 2020 guidelines note that regular muscle-strengthening activity is recommended for all adults as part of a healthy exercise routine, and pelvic floor training fits within that broader category of strength work even though the guidance itself addresses muscle-strengthening activity broadly rather than the pelvic floor specifically.
Results are known to build over several weeks of steady practice, and how quickly you notice change will differ from person to person depending on your starting point and how consistently you practice.
What mistakes and safety issues should you watch for
The most common mistake is engaging the wrong muscles, usually the abdomen, thighs, or glutes, instead of the pelvic floor itself. This happens when someone squeezes too hard too fast without first learning the correct, gentler contraction.
Overtraining is another frequent issue. More repetitions are not automatically better, and pushing through discomfort can lead to a pelvic floor that is too tight rather than too weak, which brings its own set of problems like pain or difficulty fully relaxing the muscles.
Watch for these specific signals that mean it is time to pause and check in with a professional:

- Pain during or after exercises that does not ease with rest.
- No noticeable change in symptoms after several consistent weeks of practice.
- Worsening leakage, urgency, or pelvic discomfort despite regular training.
A pelvic floor physical therapist can check your technique in person and confirm whether you are engaging the right muscles, which is something reading alone cannot fully verify. This information is educational and does not replace a proper evaluation, so see a doctor if symptoms persist or feel unclear.
Correct versus incorrect pelvic floor technique at a glance
Use this quick comparison to check your own form against common errors beginners make.
| Technique Element | Correct Approach | Common Mistake |
|---|---|---|
| Breathing | Steady, normal breathing throughout | Holding breath during the squeeze |
| Muscles engaged | Only the pelvic floor lifts and tightens | Abdomen, thighs, or glutes tense up |
| Contraction speed | Slow, controlled squeeze and release | Fast, forceful clenching |
| Recovery between reps | Full relaxation before the next squeeze | Staying tense between repetitions |
| Session frequency | Short sessions, several times a day, building gradually | One long session pushed to fatigue |
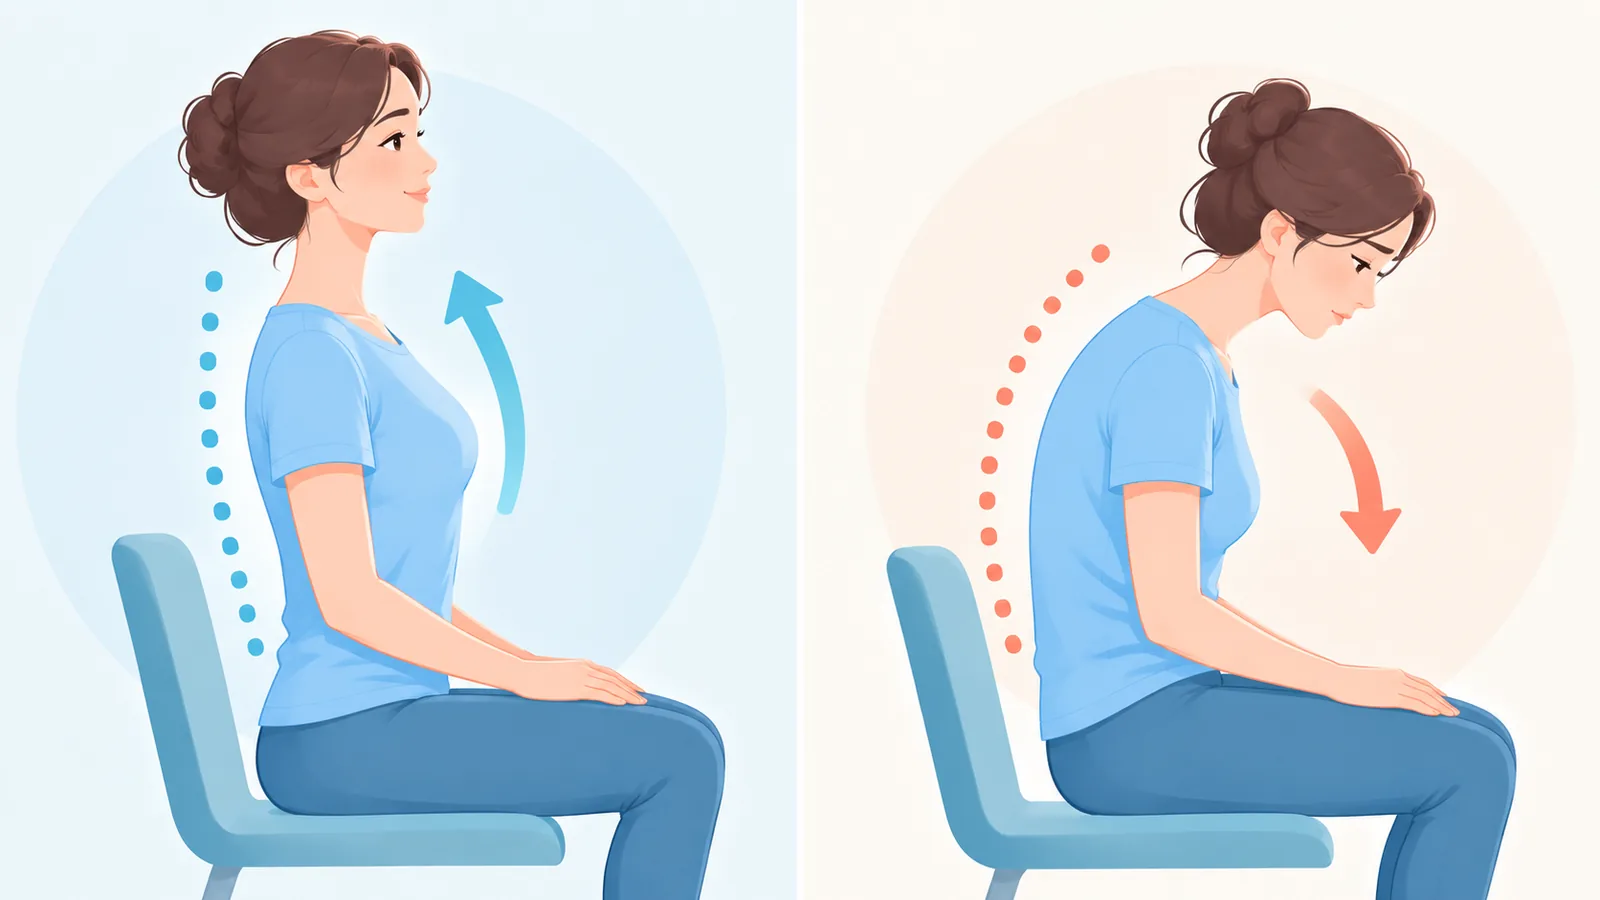
Ready to build a consistent pelvic floor routine that fits your daily schedule?
Conclusion and next steps
Pelvic floor exercises are a simple, learnable skill, not a one-time fix. Start with short, gentle sessions, focus on isolating the right muscles, and let your body adjust gradually over several weeks rather than rushing the process.
If you notice pain, no improvement, or worsening symptoms, treat that as your signal to check in with a healthcare provider or pelvic floor physical therapist rather than pushing through on your own. Results vary from person to person, so be patient with your own pace.
Try the beginner routine outlined above for the next two weeks and notice how your control feels by the end of it. How is your pelvic floor holding up so far?
WHO – “WHO Guidelines on Physical Activity and Sedentary Behaviour” (2020), https://fctc.who.int/resources/publications/i/item/9789240015128 – confirmed that regular muscle-strengthening activity is recommended for all adults as part of a healthy exercise routine.
This article is for general educational purposes only and is not a substitute for professional medical advice, diagnosis, or treatment. If you have persistent symptoms or questions about your pelvic floor health, please consult a qualified healthcare provider.
Citing this article
Source: Atovia (Atovia). https://atovia.kr